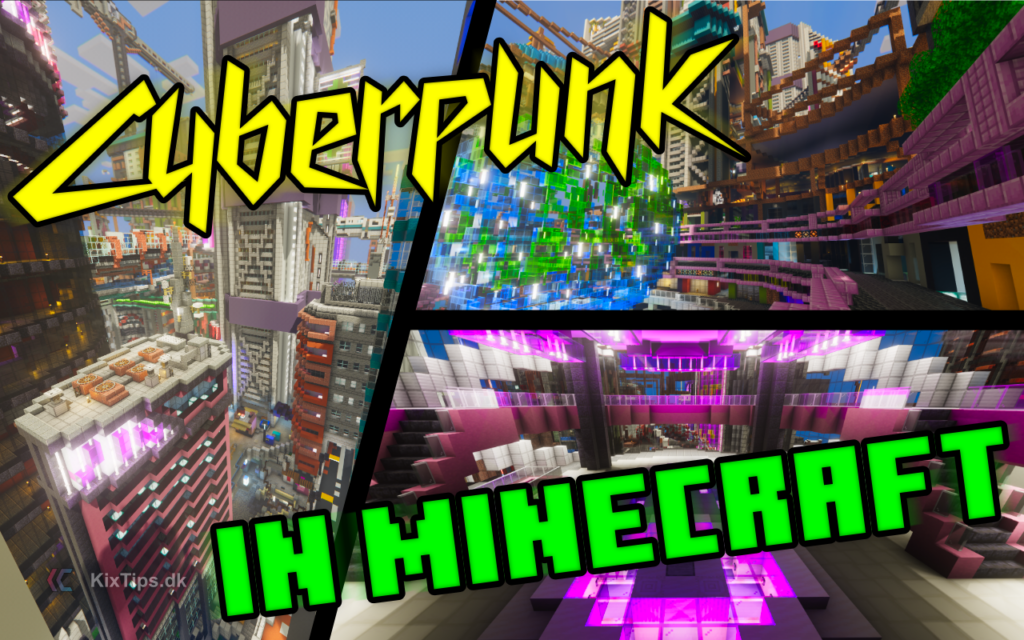
“Cybercity” is a cyberpunk city built in Minecraft, free for everyone to explore. You can explore everything from the darkest alleys to the tallest skyscrapers.
In this article, we will introduce you to Cybercity and cover the following:
- Where and how to visit the city yourself?
- Our recommended game settings
- Build log: Get behind the scenes of the building project and learn about the project’s backstory.
Theme & Brief History
You find yourself in a futuristic cyberpunk city several years into the future. Due to an explosion in the city’s population, all building regulations have been disregarded for many years, resulting in construction and expansion wherever space was available. New districts are built on top of the old ones, roads and subways intersect at various heights, and CyberCity is now a city that develops significantly both vertically and horizontally.
The increasing density and vertical development have led to significant social and economic inequality, from the lowest layers of the city to the towering skyscrapers housing the wealthy class who overlooks the city.
Cybercity is a well-connected city where it is possible to move from one district to another simply by navigating through small passages and alleys, without ever setting foot on the ground.
In this future, mega-corporations heavily invest in large parts of the city’s economy and development, so your experience in the city will be significantly illuminated by the many neon signs advertising various products and services.
The Builders
Cybercity is built by:
- Roand
- Kiksemand
Construction Time: The Idea for a Cybpunk City in Minecraft began on a Danish survival server in 2020. After about 2 years, unfortunately, the server closed, and we were unable to continue building the project. After about a year, in 2023, we were offered the opportunity to import a backup schematic of the city onto the Mihion Minecraft server.
Game Mode: The Cyberpunk City was built in survival mode with nice-to-have plugins such as mcMMO and the ability to buy materials from other players. Fly was used as it was a feature on both servers. Currently, we have used administrative tools like the debug stick to modify the placement of survival-placed blocks. World Edit was used to insert the city after moveing to a new server. World Edit is sometimes used if larger amounts of player placed blocks needed to be removed due to changes.
Server IP: Visit Cybercity Today
Server IP: mc.mihion.dk
In 2023, we transitioned to the Mihion Minecraft server, where we currently have the opportunity to continue our Cybercity project. We are very grateful for the chance to have our building project inserted on the server.
Mihion is a Danish Minecraft survival mcMMO server.
Mihions Discord: You can find Mihion’s official Discord server here: https://discord.gg/mnUpEcRg3b
Come to the City
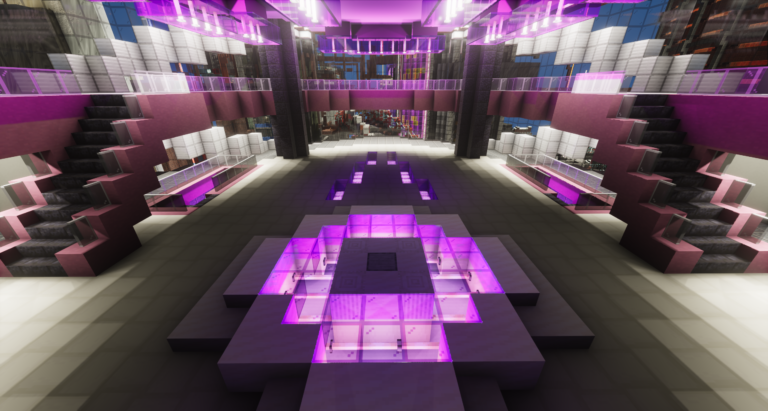
We have placed the server’s spawn in the city as something new! As a new member, you just have to join the server and you will spawn directly in the city.
For existing members, you can execute the following commands to visit Cybercity:
Come to Cybercity:
- Switch to the correct world with the command:
/menu(from here choose “mcmmo”) - Teleport yourself to the city with the command:
/spawn
You’ll now arrive at the city’s spawn, where you’ll be greeted with a brief introduction. From here, you can take the stairs down to exit the building. There are many areas and paths to explore from here. Throughout the city, we’ve marked roads, iconic buildings, stairs, and small passages with ‘Pathfinding’ signs. Learn more about Pathfinding in the next section.
Navigate and Explore with Pathfinding
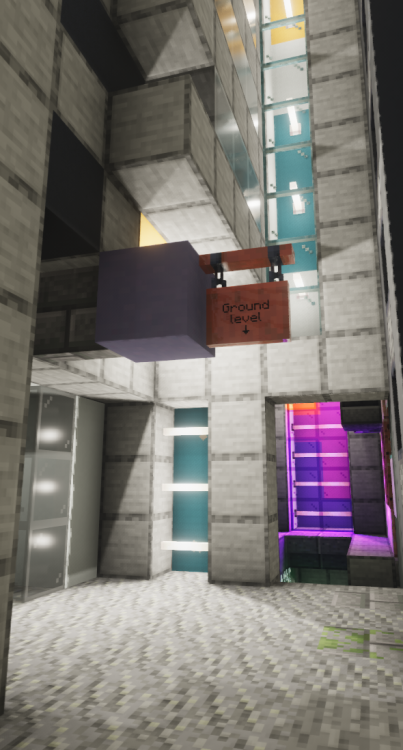
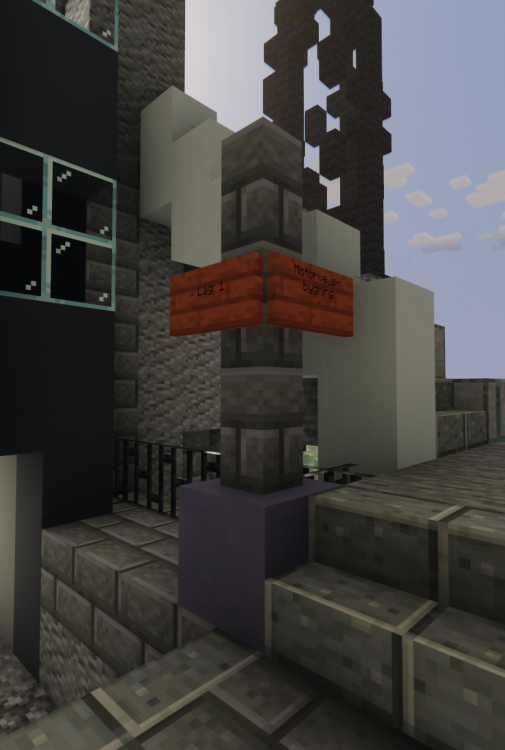
Pathfinding: Light Blue Terracotta with Acacia Signs will be placed around the city to guide you.
These signs serve as pathfinding markers and will show you where roads, stairs, and passages lead. They may indicate iconic buildings or areas.
Iconic buildings could include the ‘Mega Structure’ (the city’s first major building) or the ‘Circular Building’ or ‘Spawn’ (the cylindrical building where you teleport to when visiting the city).
Areas could be described as “Layer: 1” (the city is built in layers, so it’s not constructed on a single level with a grid of roads; instead, it’s built in multiple layers with roads that go over and under each other) or “Mall” (a massive outdoor shopping center with several surrounding buildings).
Read more about the city’s iconic buildings and areas, as well as their background stories, at the bottom of the page.
Shaderpack: Experience a Neon-Lit City
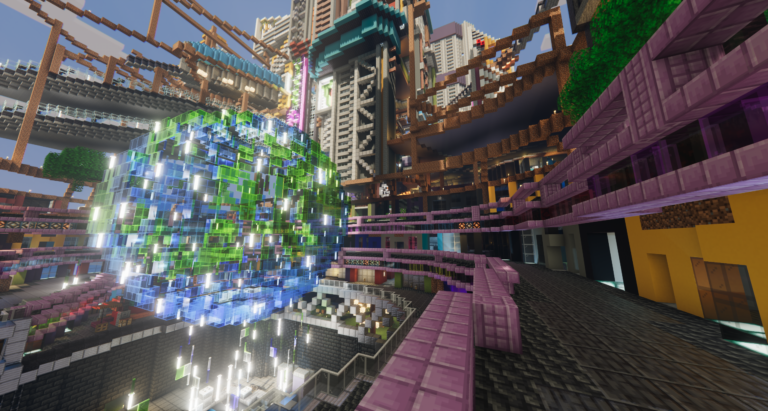
The city should be experienced with a shaderpack to truly immerse yourself in the experience. With shaders, the city is illuminated in a completely different way both in daylight and at night. The fantastic way in which the many colored neon signs light up provides a realistic experience and a true cyberpunk atmosphere. Shaders add depth and life to the city, as many of the building facades are designed to create a three-dimensional expression based on how light is cast from the windows.
Settings & Installing the Shader Pack
The city is designed to be experienced with the best visual effects. To give you the best experience, we recommend using a shader pack. If your computer can handle a shader pack that supports Ray Tracing (RTX), this is the best recommendation.
We have chosen to use the Shrimple shader pack, which supports Ray Tracing. This shader pack is still under development (beta), but we believe it almost perfectly reflects our visions of the city and its theme.
Download Shrimple from Modrinth: https://modrinth.com/shader/shrimple
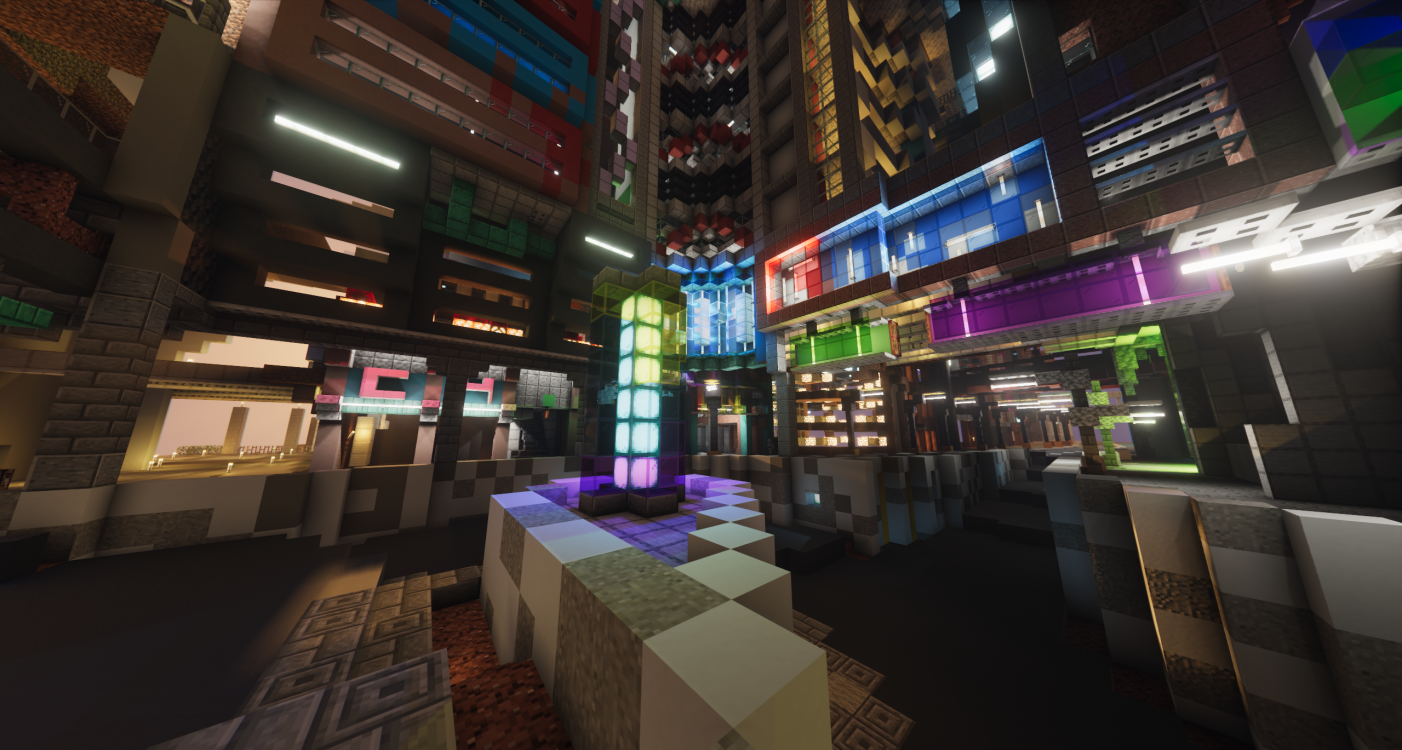
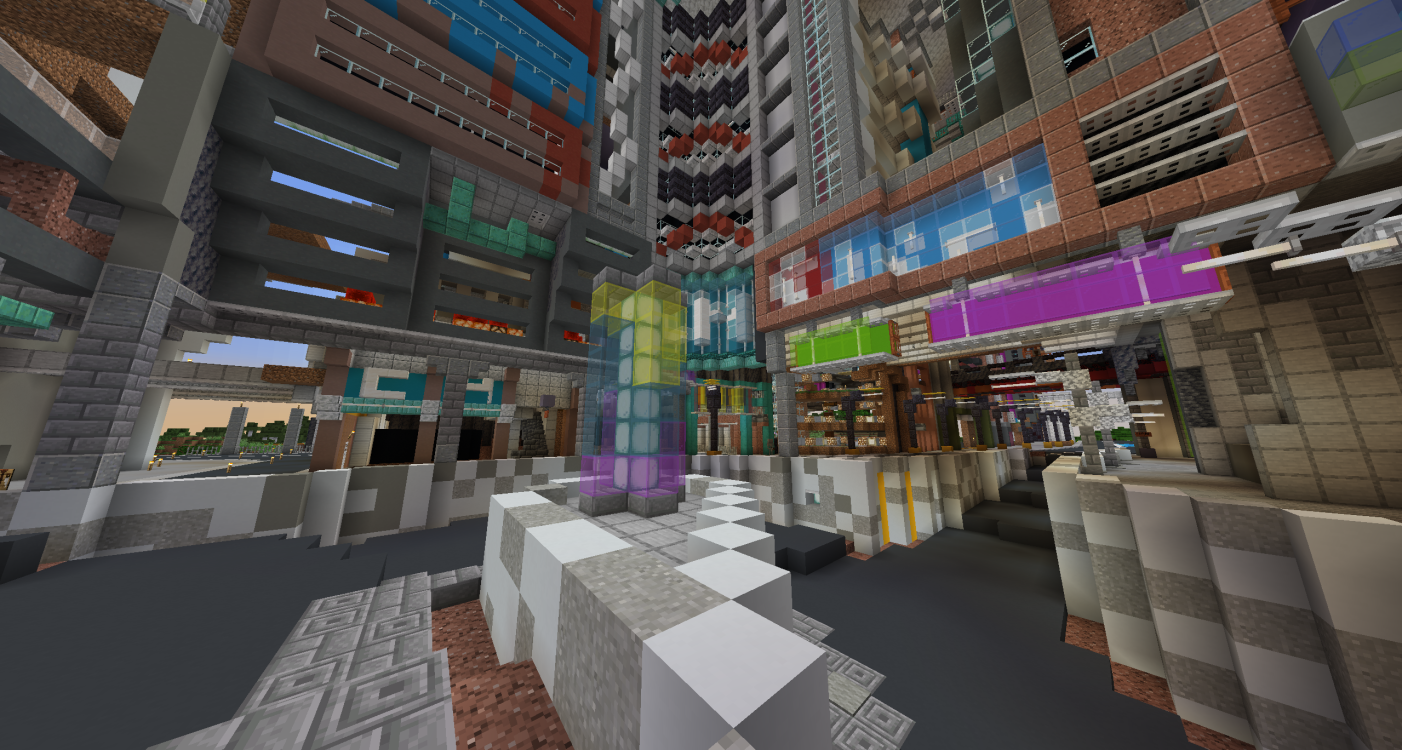
Below, you can see an image of the city with and without the shader pack. Additionally, there is an overview of the settings you should use for Shrimple. There is also a suggestion for alternative shader packs, as well as an installation guide for shader packs.
We recommend this quick solution:
- Download the Modrinth App from https://modrinth.com/app.
- Set up the app by connecting your Minecraft account (Microsoft account). Then create a new game instance by clicking on “
+” on the left side. Choose Loader: “Fabric“. - From the Library, download the following mods with a single click:
Sodium(Better game performance)Iris(Adds support for Shaders)Shrimple(Our choice of Shaderpack)
From your in-game settings, open your shaderpack settings and adjust the following values:
Apply These Settings:
- Profile:
RTX
Then adjust the following:
Ligtning>Mode: Ray TracedLigtning>Hand: NoneLigtning>Trace Options>Tint Strenght: 220%Ligtning>Trace Options>Advanced>Max Bin Lights: ~380+Ligtning>Colored Candles: OnLigtning>Brightness: 100%
These settings reduce glare effects when there are many light sources. Light passing through colored glass enhances the neon effect from neon signs and windows. Boundaries with unnatural lighting/shadows are removed.
From your in-game settings, open your shaderpack settings and adjust the following values:
- Profile:
RTX
Then adjust the following:
Lightning>Minimum: 8%Lightning>Trace Options>Tint Strenght: 220%Lightning>Trace Options>Advanced>Max Bin Lights: ~380+Lightning>Trace Options>Advanced>Max Sample Count: 128
These settings increase light in dark areas. Light passing through colored glass enhances the neon effect from neon signs and windows. Boundaries with unnatural lighting/shadows are removed. Grain effect is removed.
Alternatives (in respective order):
Rethinking Voxels(Voxel lightning, demanding, in Beta).SEUS PTGI HRR v3(Ray tracing, very demanding).KUDA(generic shader).
Resource packs & Mods
Texture Pack: Default
Mods: List of recommended mods:
SodiumLithiumIris(Required for Shaders)Nvidium(Recommended for GeForce RTX, active when shaders is deactivated)
Build Log & Lore: Iconic Buildings and Areas
May 9, 2024 - Life under the Highway
Video showcase: A footbridge connecting a platform to the roof of a building has been built under the highway. At the top of the building is a small alley with small stalls. If you follow this passage, you are taken through a sky bridge over the road to another building, which is also located under the motorway.
